Putting in the extra time to figure out the v-ray issue really paid off - I don't think this model would be nearly so successful if the reflective surfaces and glass had remained flat and undifferentiated.
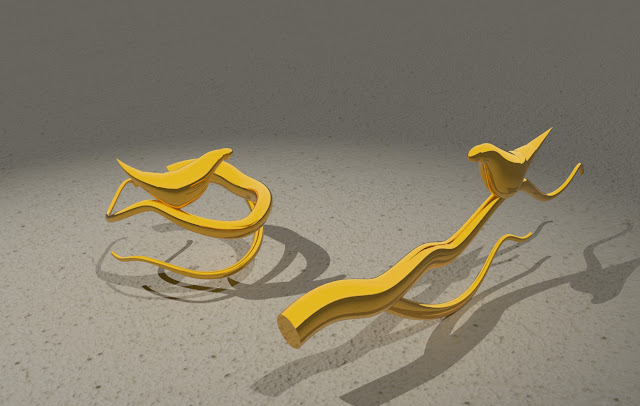
I was really intrigued by the modelling possibilities of the Rhino tools we have learnt over the last few months - previously I would have expected to return to mesh modelling to create something this organic. Knowing that I had moved beyond simple geometric shapes, I wanted to create a ring that felt more handcrafted and less shapebased. I found the diameter I wanted to use, and created a second circle to indicate the exterior periphery - that gave me the inner and out limits of the wibbly branch shape. After flowing my shape around the exterior circle, I made sure it had several contact points along the inner circle so it would brace against the finger surface. I then assigned some materials and rendered the above. Proofing is important, so I also proofed through make2d and print settings. shapeways highlighted some of the thinner sections - but I was expecting those to be on the delicate end and I'm not super concerned about it - switching it from plast...
At first I wasn't sure I was going to be able to find enough surface design patterns around my house to get a good sample...but once I started looking I kept finding more and more. Love this shirt on my partner - did not feel like I had enough time in my life to attempt to replicate it though This pattern was neat but too organic to replicate at my skill level After locating the samples, I booted up rhino and began to attempt to replicate the patterns I had found, starting with the simpler patterns that drew my eye. the pattern from our laundry basket and some variations tessellation inspired by my mask's beadlike flowers based on the carved candle holder exploring Pendleton-like designs a floral motif from a plate After replicating sections of designs, I started to have a concept - of integrating some of the disparate elements of my life together. As a biracial person, both Indigenous art and western art are parts of my life and experience - and I am capable of ...


Comments
Post a Comment