Posts

The Chess of Me

Image
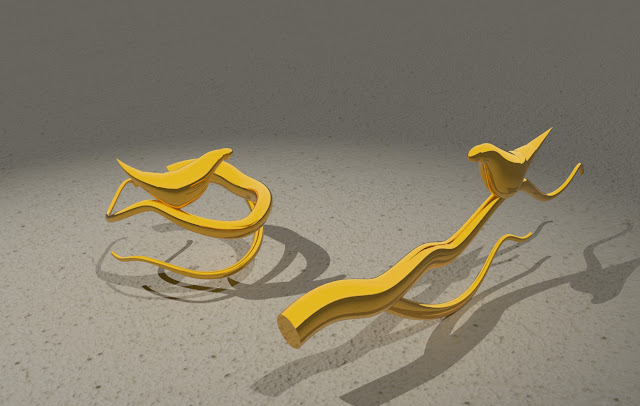
Well, we made it to semester end. Our chess set designs were finalized, and we booked times into the lab to print.  I had known from the beginning that I wanted to lean strongly into 3D printings ability to construct a layered intricate product that could self-support - I had handled the example prints in the lab and really got a sense that this was a rigid lightweight plastic that would hold itself up as long as I gave it a sufficient base and stayed mindful of its gravity center. I love that 3d printing can create these spire-like hollow forms, with peekaboo cutouts between forms so I hoped to bring that into my print. Whilst these designs are possible in wood or clay from a technical sculptural standpoint, I do think they work best in print and showcase what I admire about the material.  I blogged my concepts previously - but this was the winning concept Concept sketches Peer feedback went well - I had some trouble deciding between the dinosaur concept and the man who was devoured b

Milestones!

Image
  Castle:  Surface Design: what I thought I was going to produce what I actually produced Reverse Engineered Object: Ring: Chess Set:

Chessing Around

Image
  Well, it's time to tackle the chess set and the first step is ideation. I like to start with a mindmap or at least some concept categories, so that's exactly what I did. I started off pretty run of the mill, but after re-reading the assignment I remembered Bryan's admonishment - keep it weird. So ... I picked a concept that had a lot of meat but wasn't toooo weird and started with that one to have a backup plan. Beings from Cree stories My ethnic background is full of stories about non-human beings. It's kinda a safe bet because it's very familiar to me, and there's lots of alternatives to choose from if I need to. But I really love a specific story that tells about the dangers of laughing at other's misfortunes so, I also did a chess set based on the story of the man who was devoured by rabbits.  The story of the man devoured by rabbits There's a couple of things I really appreciate there - it's a great story. The chess pieces encapsulate that

Ring Ring

Image
  I was really intrigued by the modelling possibilities of the Rhino tools we have learnt over the last few months - previously I would have expected to return to mesh modelling to create something this organic.  Knowing that I had moved beyond simple geometric shapes, I wanted to create a ring that felt more handcrafted and less shapebased. I found the diameter I wanted to use, and created a second circle to indicate the exterior periphery - that gave me the inner and out limits of the wibbly branch shape. After flowing my shape around the exterior circle, I made sure it had several contact points along the inner circle so it would brace against the finger surface.  I then assigned some materials and rendered the above.  Proofing is important, so I also proofed through make2d and print settings.  shapeways highlighted some of the thinner sections - but I was expecting those to be on the delicate end and I'm not super concerned about it - switching it from plastic to brass cleared

Let's Render

Image
  Putting in the extra time to figure out the v-ray issue really paid off - I don't think this model would be nearly so successful if the reflective surfaces and glass had remained flat and undifferentiated.

Realistic Object: Renders

Image
I think it's safe to say that the render machine hates me.  Case in point: in render, the inside of the light assembly does not render? But it's fine when I snip it directly from rhino? Changing the angle of the light does nothing, and I'm working at final quality so I'm a bit stumped. I'm going to keep searching for a solution though.  Render two came out a bit better- I futzed with the iors on some materials, changed some reflectivities and was able to get some advice from a CAD technologist - I will continue to mess with the ray tracing options and adjust the textures. It's just not an acceptable solution for the interior chrome details to be one washedout plane. 

Realistic Object Render: Updates

Image
  This has certainly been a journey. We reviewed deform tools and rendering and then went on our way to work this project out.  I really wish I had discovered interpolated curves before Bryan had a chance to teach it. Because wow, you can get pretty organic with those! Let's review the trip through this project via the screenshots I documented. (Additionally, blogger wouldn't accept my photos and that was a whole trip to solve :O) torches need guts, so I made them. I really really appreciate shell - being able to offset a surface was very nice.  It was very satisfying to boolean subtract the divot out of the bottom of this feature and have it work nicely the first time. Boolean hasn't always been my friend but this project gave me a lot of practice.  So the larger assembly that the on off button sat on drove me NUTS. It was oddly shaped, and I didn't want to have to draw all the cross sections when I knew there was a simple mathematical solution.  Make sure your curves