Wrapping Up the Pattern: Lasercut


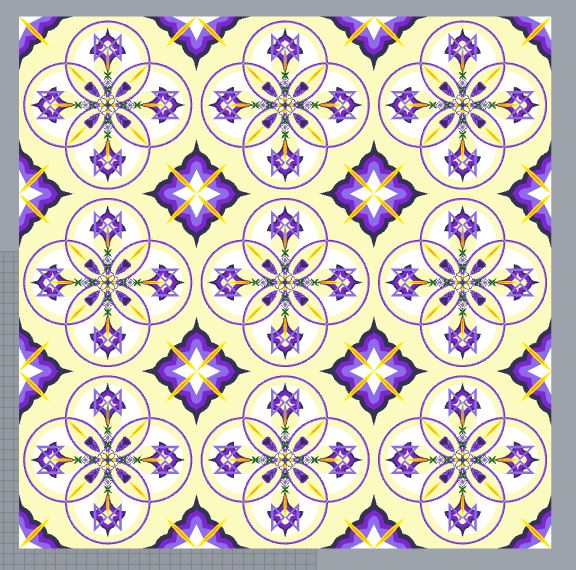
As pleasant as this pattern was visually, there was just NO WAY it was going to be replicable within 4x4" - it was just too detailed with some really minuscule elements that didn't carry across rescaling. 

Once that was clear, I spent a class redesigning the pattern, from its original inspiration sources, into something familiar to the above concept but lasercut-able. 

Knowing it was going to be cut from its background, but also that it could only be coloured through burning, I worked to those limitations/ possibilities. I reworked the pattern so that it would also work in greyscale, and then set up a series of small delicate lines and rings that would be hard to fashion without the precision of a laser. Paper or softer plastics would be floppy, so it was important to me that the wood's faktura would be appreciated instead of overlooked. 


The red lines indicate where the laser would cut - knowing that wood could stand some carving out, I really leant into those fragile struts.


I was practically a hatching expert, so the redesign was pretty painless. Changing to greyscale was also super fast. 

When it was time to laser cut, the last edge didn't separate.... Betrayed! We quickly realized that because I worked right up the to the 4x4 limit, the design needed to be scaled down ever so slightly. After that quick fix, the machine was reset and ready to take a second crack. 


After sitting with this on my desk for the last week, I realize that I could probably have worked some more contrast into areas, and gotten even fancier with some of the delicate bits - but for my first try on the lasercutter, I'm happy with the outcome and pretty confident in my rhino3d pattern creation skills. 


Comments

Popular posts from this blog

Realistic Object: Renders

Remix Reframe

Spare the Back, Spoil the Artist